Illustrating the journey of a wish from idea to reality
I worked with Atlanta-based agency One & All to create an illustration for the Make-A-Wish Foundation. They were looking for an illustrator who could create an isometric "machine" that visually represented the entire process at Make-A-Wish: how a wish becomes a reality.
The team at One & All and I spent a couple of hours over Zoom discussing the particulars of the project, initial concepts, and their expectations for the final product. The idea was to create a visual that explained the process by which a wish becomes a reality at Make-A-Wish — that process includes a whole lot of people and a whole lot of behind-the-scenes work for each wish.
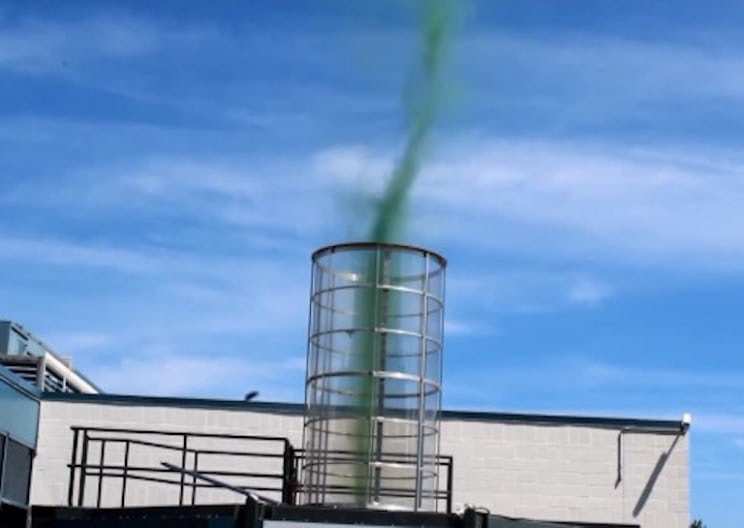
The concept they presented me with was described as a "wish tornado." Beyond that initial idea, a flow chart describing each step in the process, and a request to use brand colors in the finished illustration, I was given a blank slate.
My job was to take the flow chart below and bring it to life.
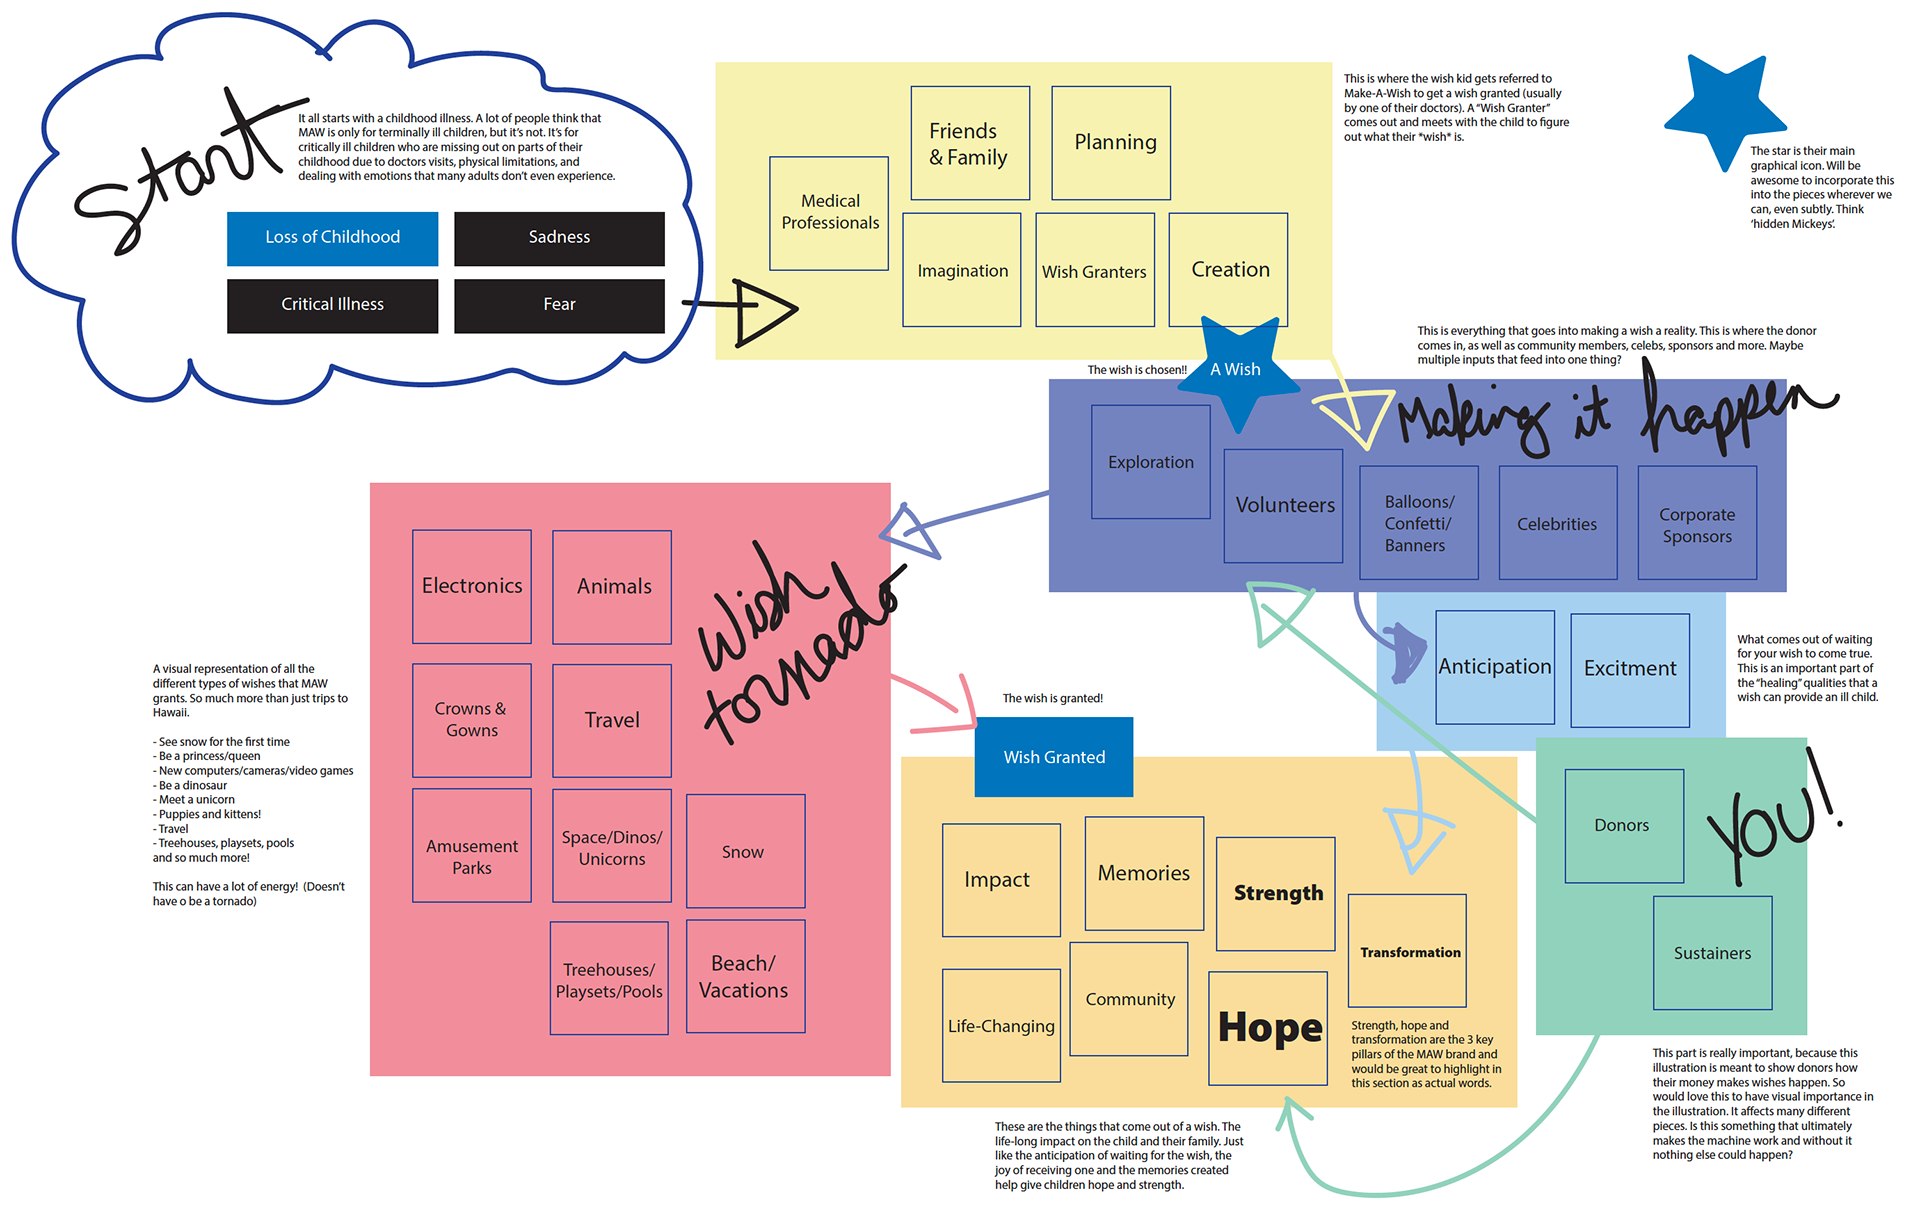
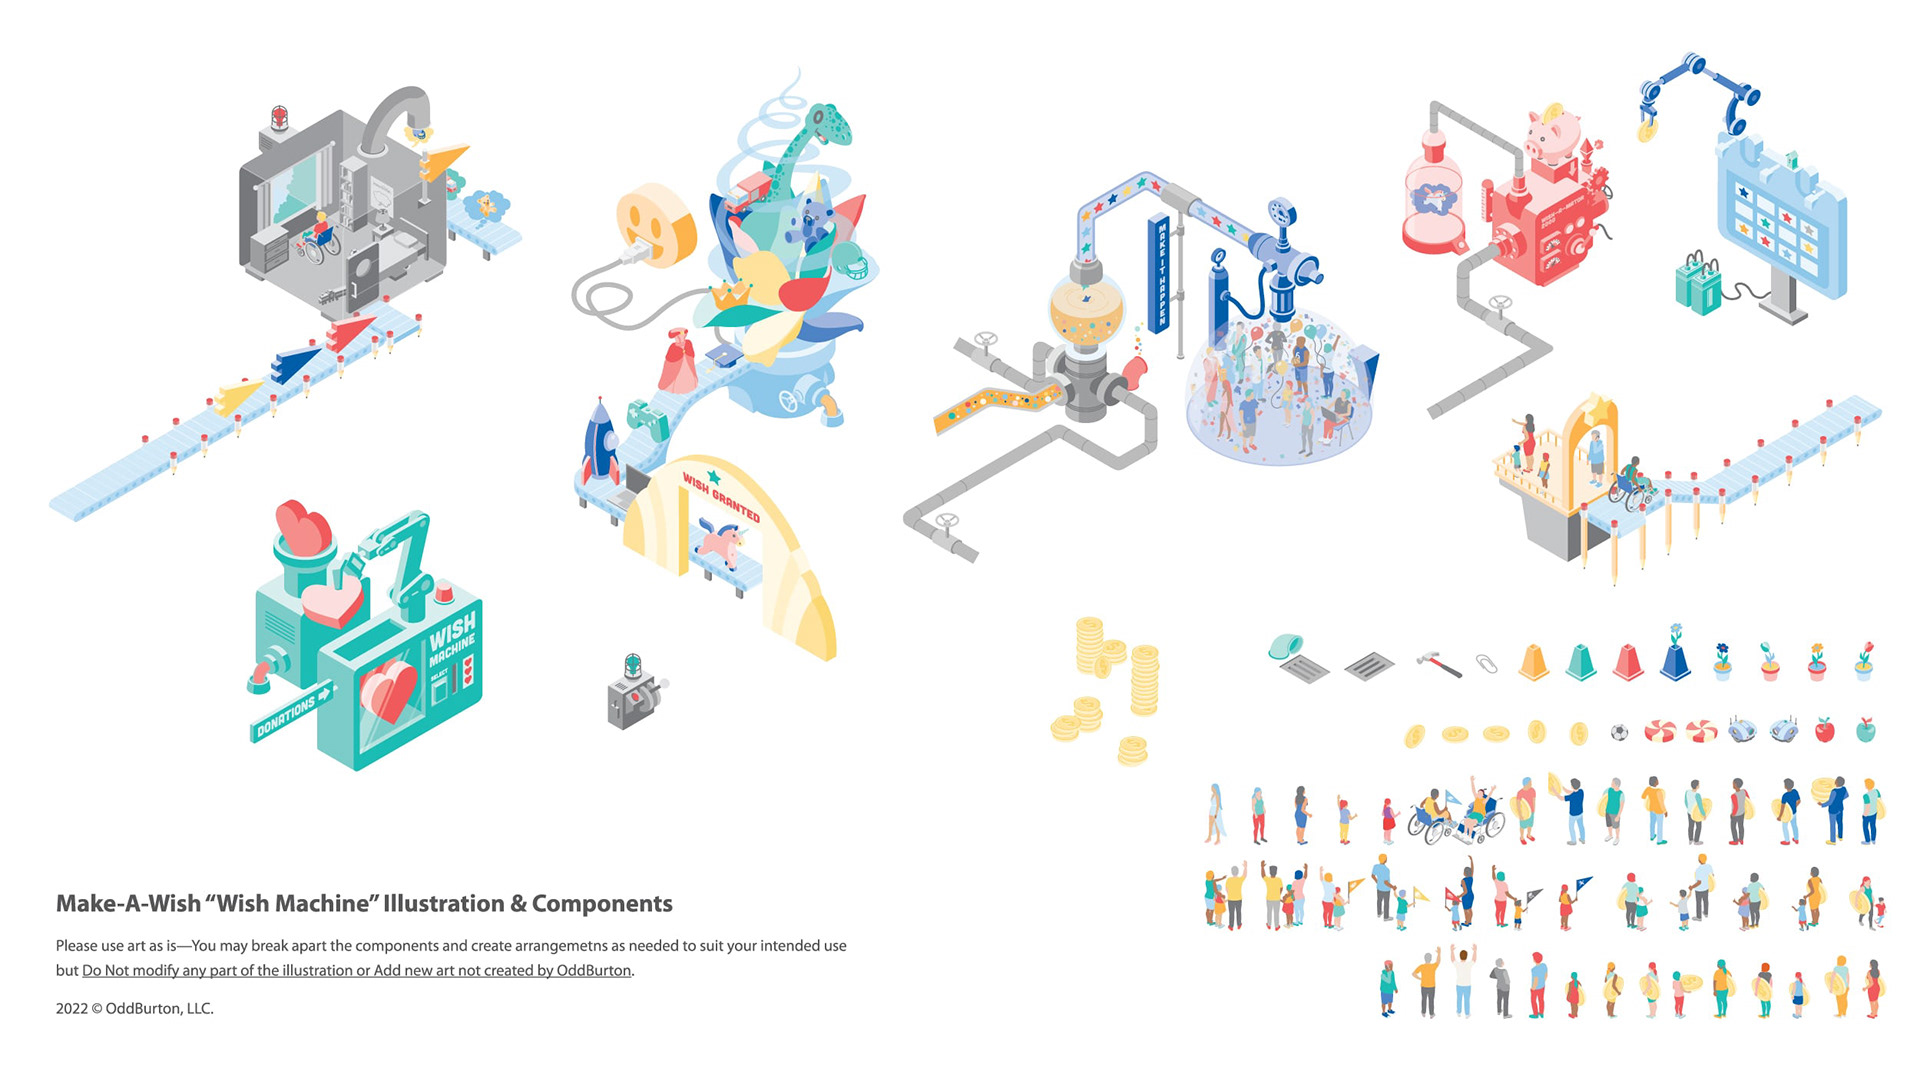
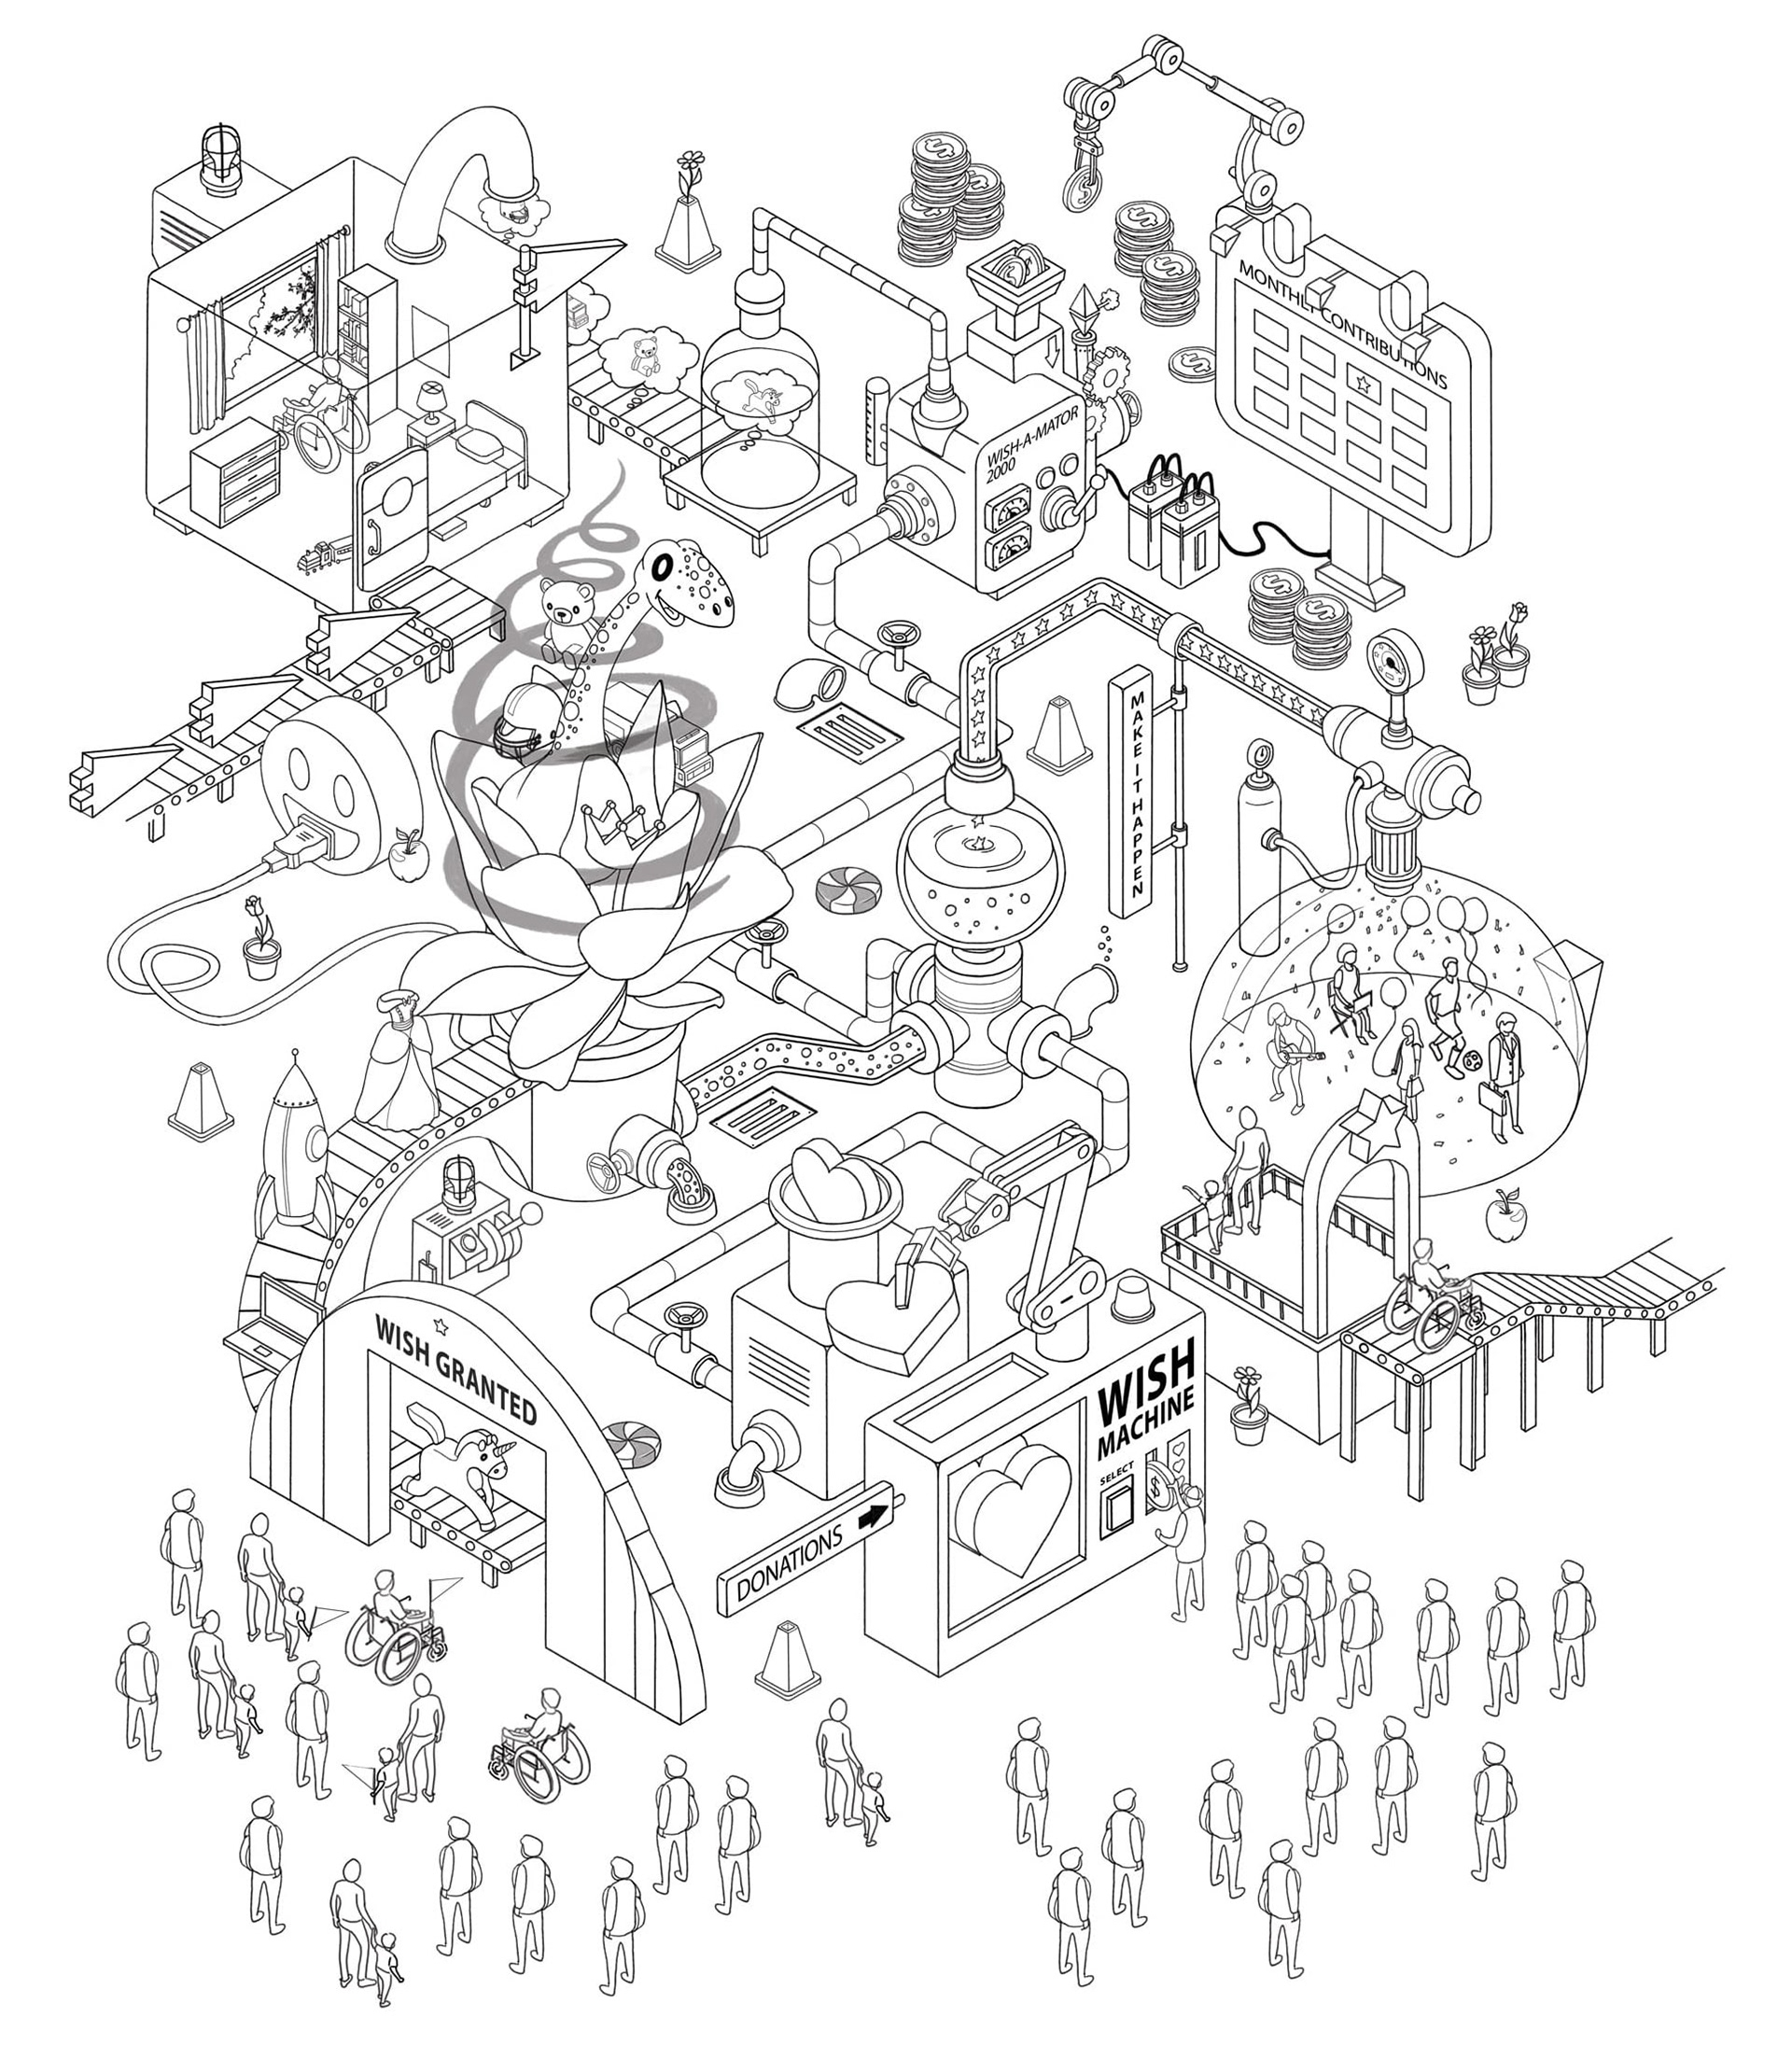
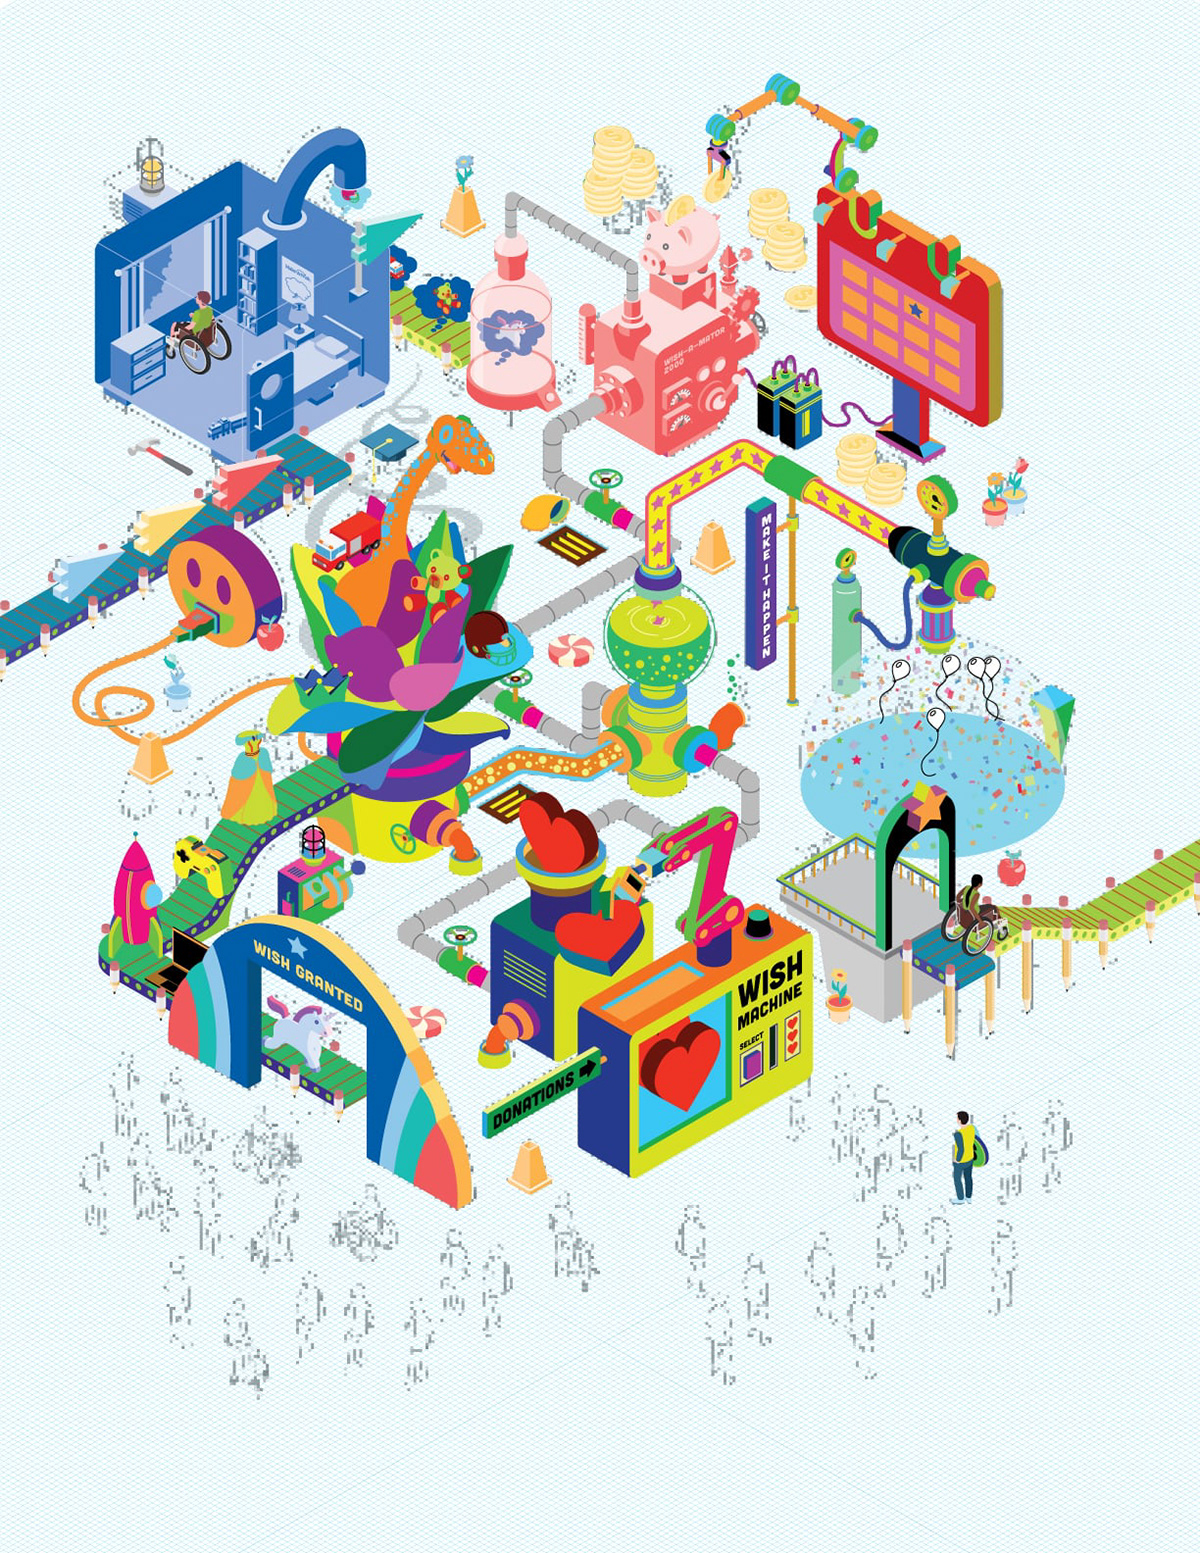
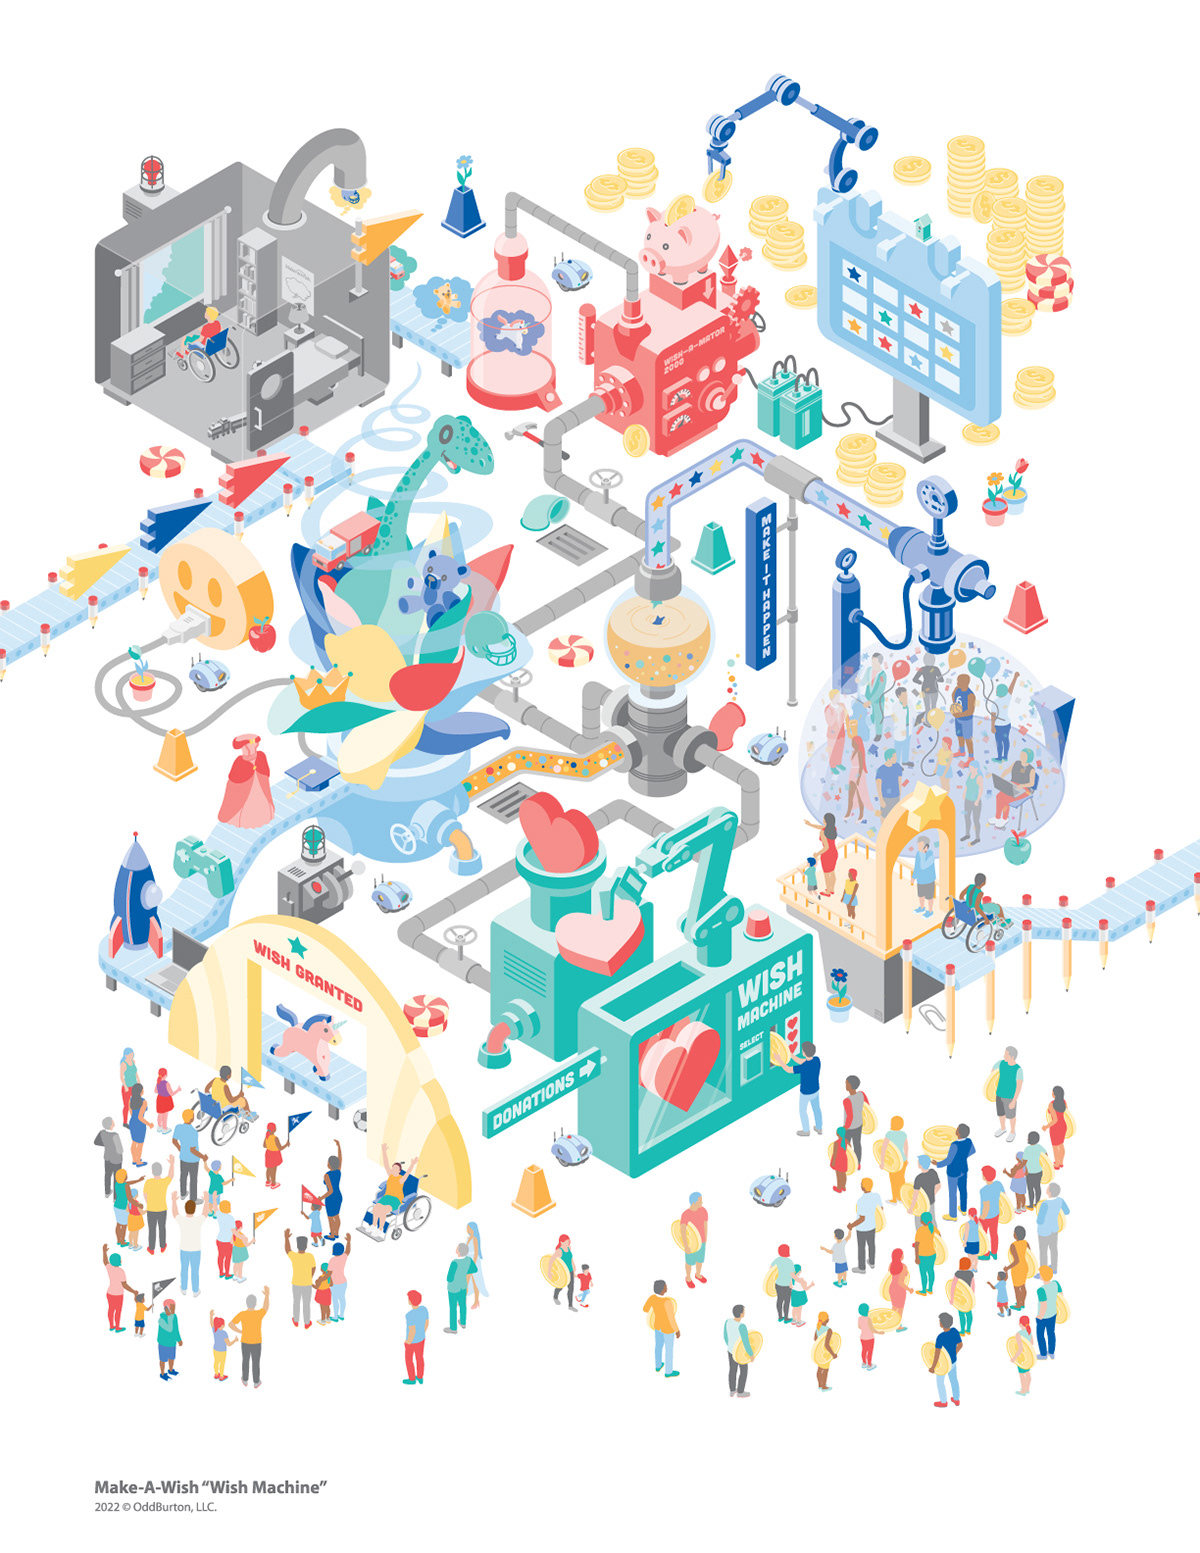
The isometric machine would be composed of seven different sections: isolation, the wish generator, volunteers, anticipation, donors, the wish machine, and granting the wish.
My solutions for each section:
Isolation is represented by a boxed bedroom that begins the entire process. The child is isolated and dreaming of something bigger.
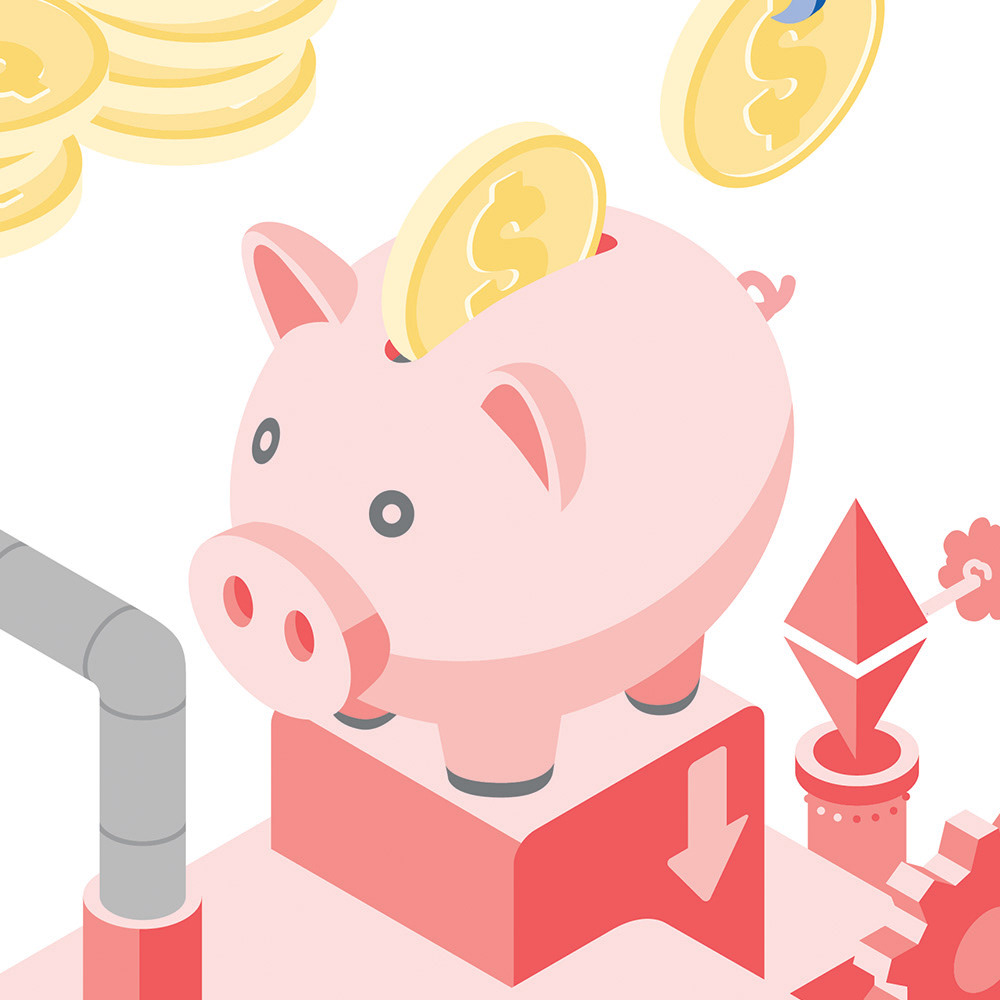
Wish Generation is represented by the Wish-a-Mator 2000, a device fed by a calendar and funding.
Volunteers are represented by a group of people — celebrities, professionals, and volunteers — in a domed enclosure that captures their energy and efforts.
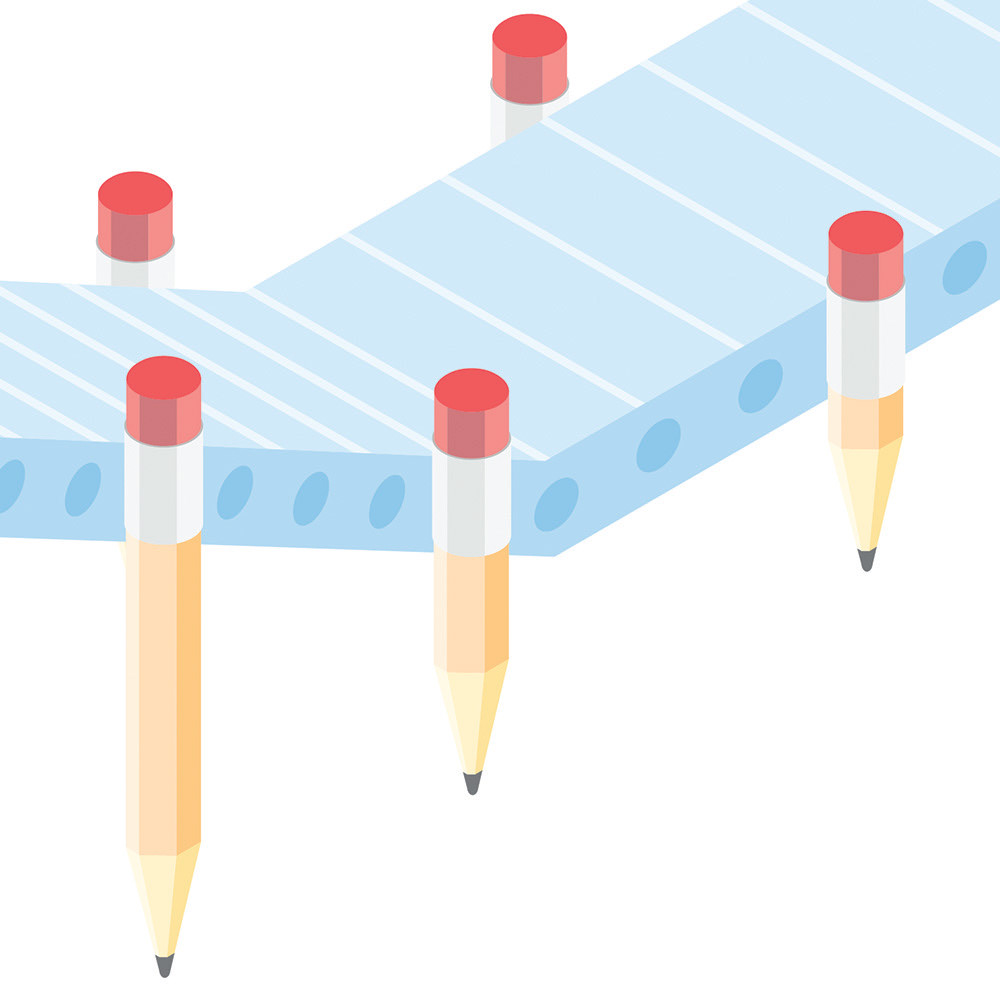
Anticipation is represented by an overlook where the child can view the process.
Donors are lining up at the donation machine to purchase hearts.
All of the above steps feed into a collection device that breaks down contributions into a mixture that powers the Wish Machine, which is driven by a giant smiley face.
Finally, the wish is granted to eager children and families waiting at the end of the process.
Concept Development
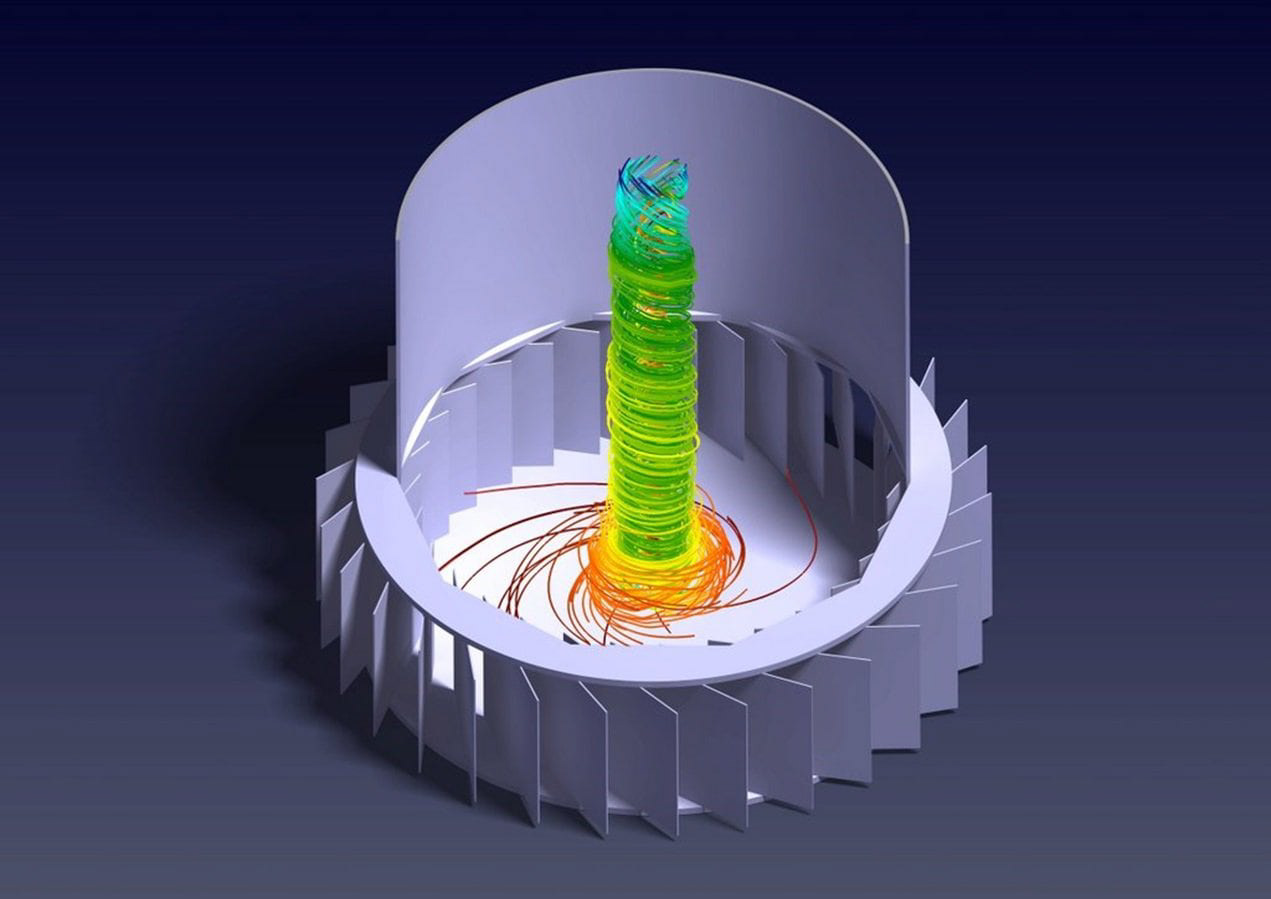
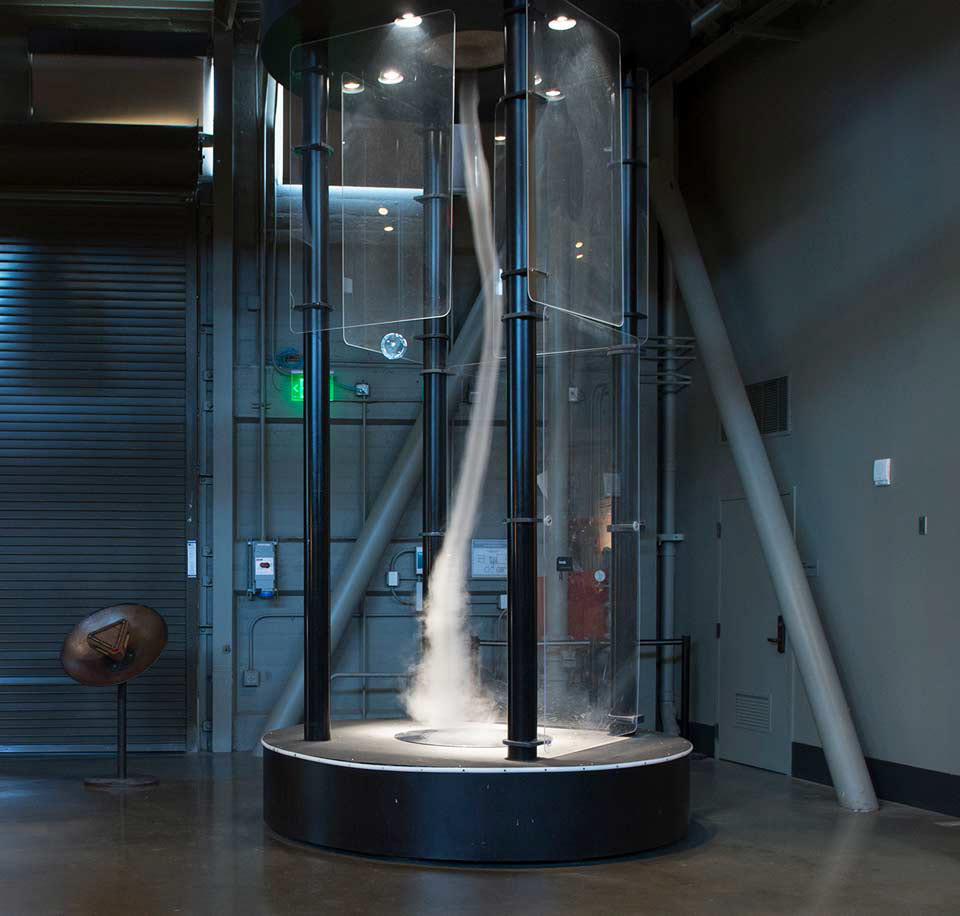
The "wish tornado" concept was optional, but I liked it enough to run with it. I researched real-life machines that scientists and researchers are currently building to harness energy from cyclonic forces — that proved too hard-edged and industrial for my tastes.
I landed on the idea of a giant spinning flower powered by a smiley face that magically produces wish objects from a steady stream of combined donations, volunteer efforts, and private contributions.
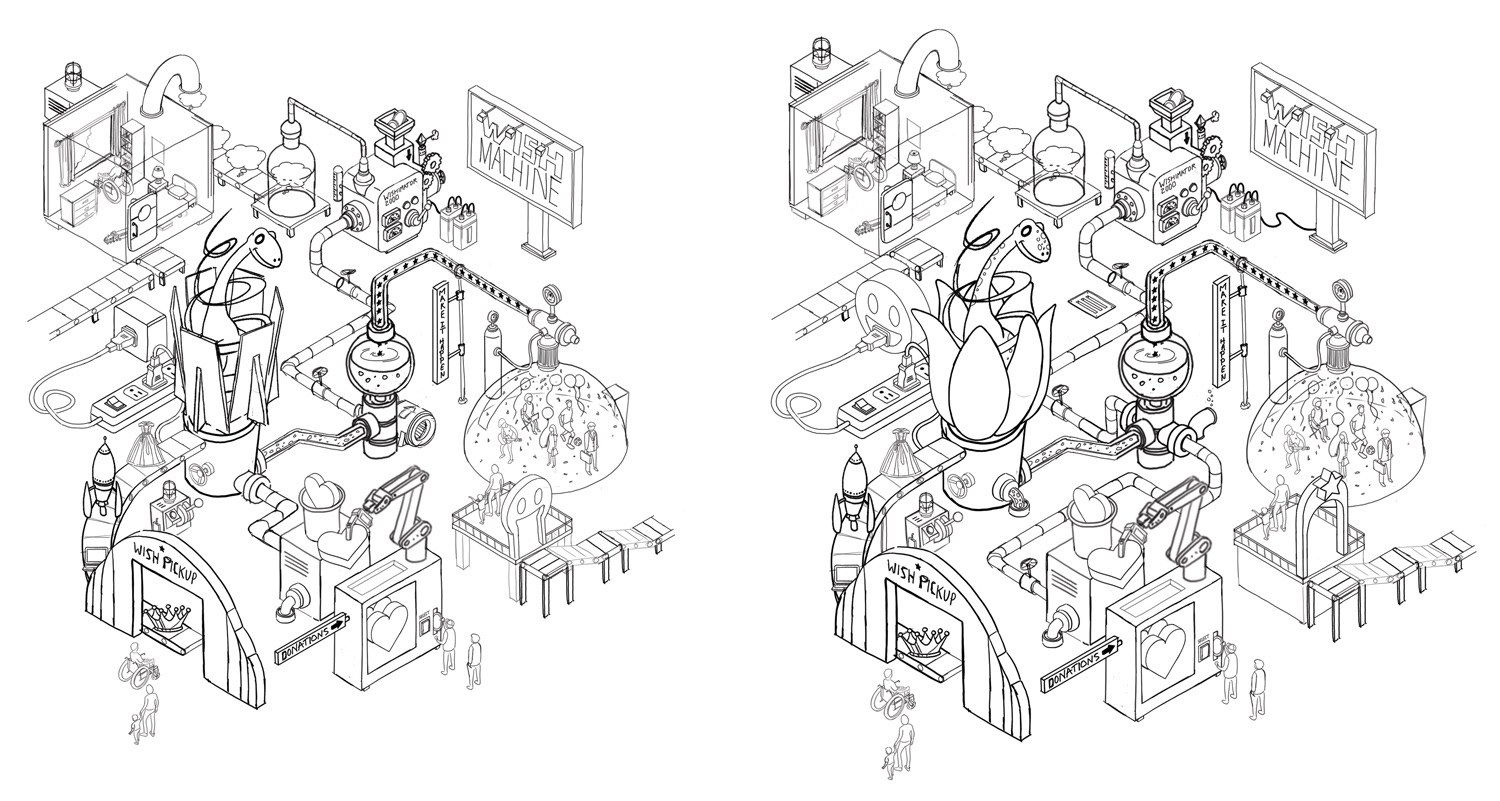
I presented a cleaned up detailed line drawing that incorporated a few requests that arose during a conference call with the team. Then I spent a few more hours making numerous minor tweaks of my own to improve the visual layout.
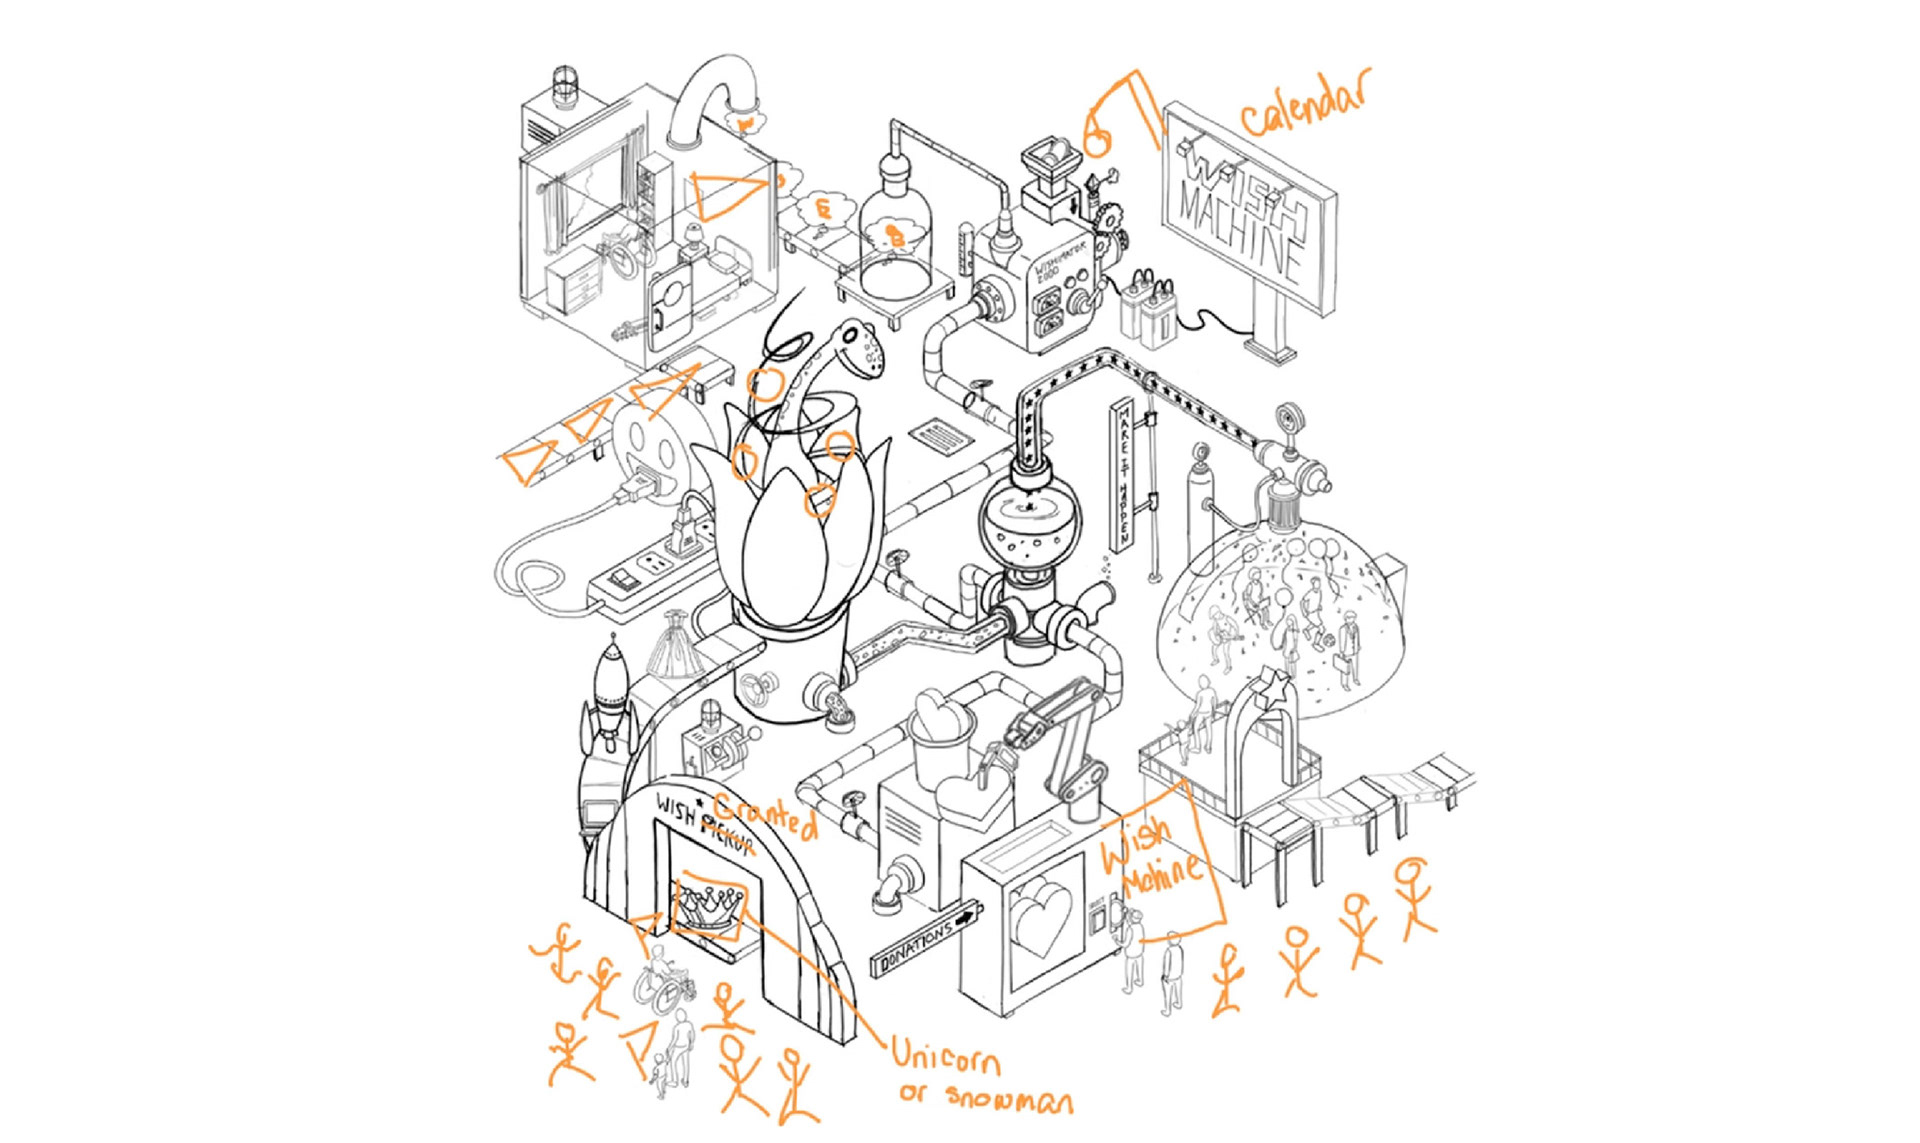

From there, it was a matter of adding a boat-load of detail — an assortment of objects to make the artwork more engaging, balance the composition, and fill in the space.


Color
I typically begin by coloring in the artwork with random colors to work out the planes of objects prior to applying the final color palette. Once this is completed, I'll solidify the color palette and simply swap in the approved colors—This process prevents me from spending too much time trying to perfect details like light and shadow on the first pass. It also speeds up the entire process.
The final illustration incorporates very specific color guidelines from Make-A-Wish's brand book.
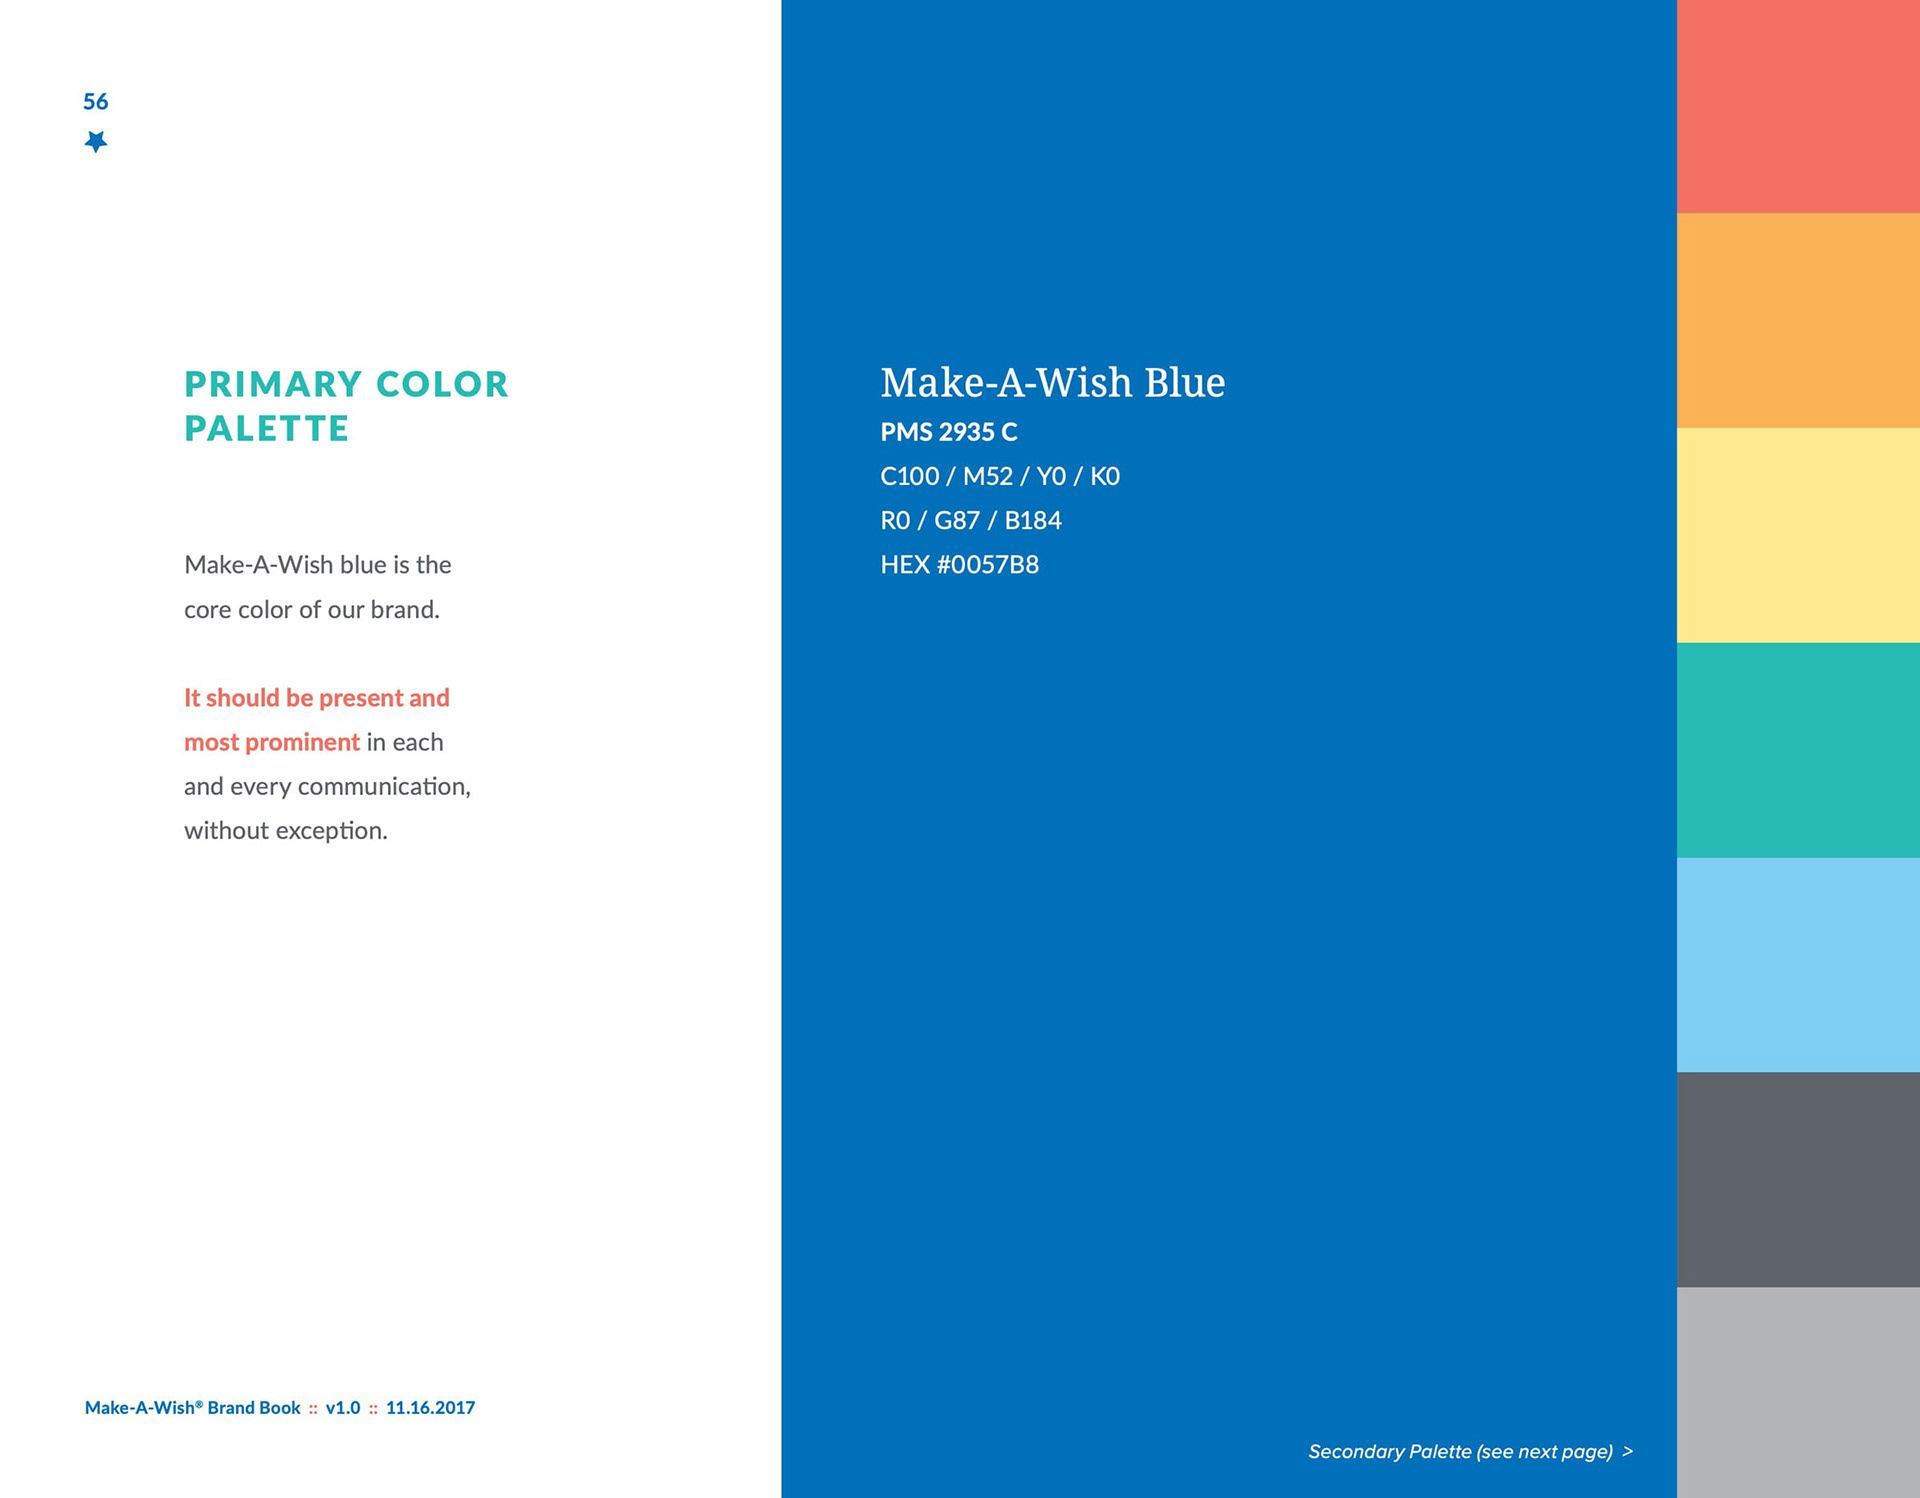
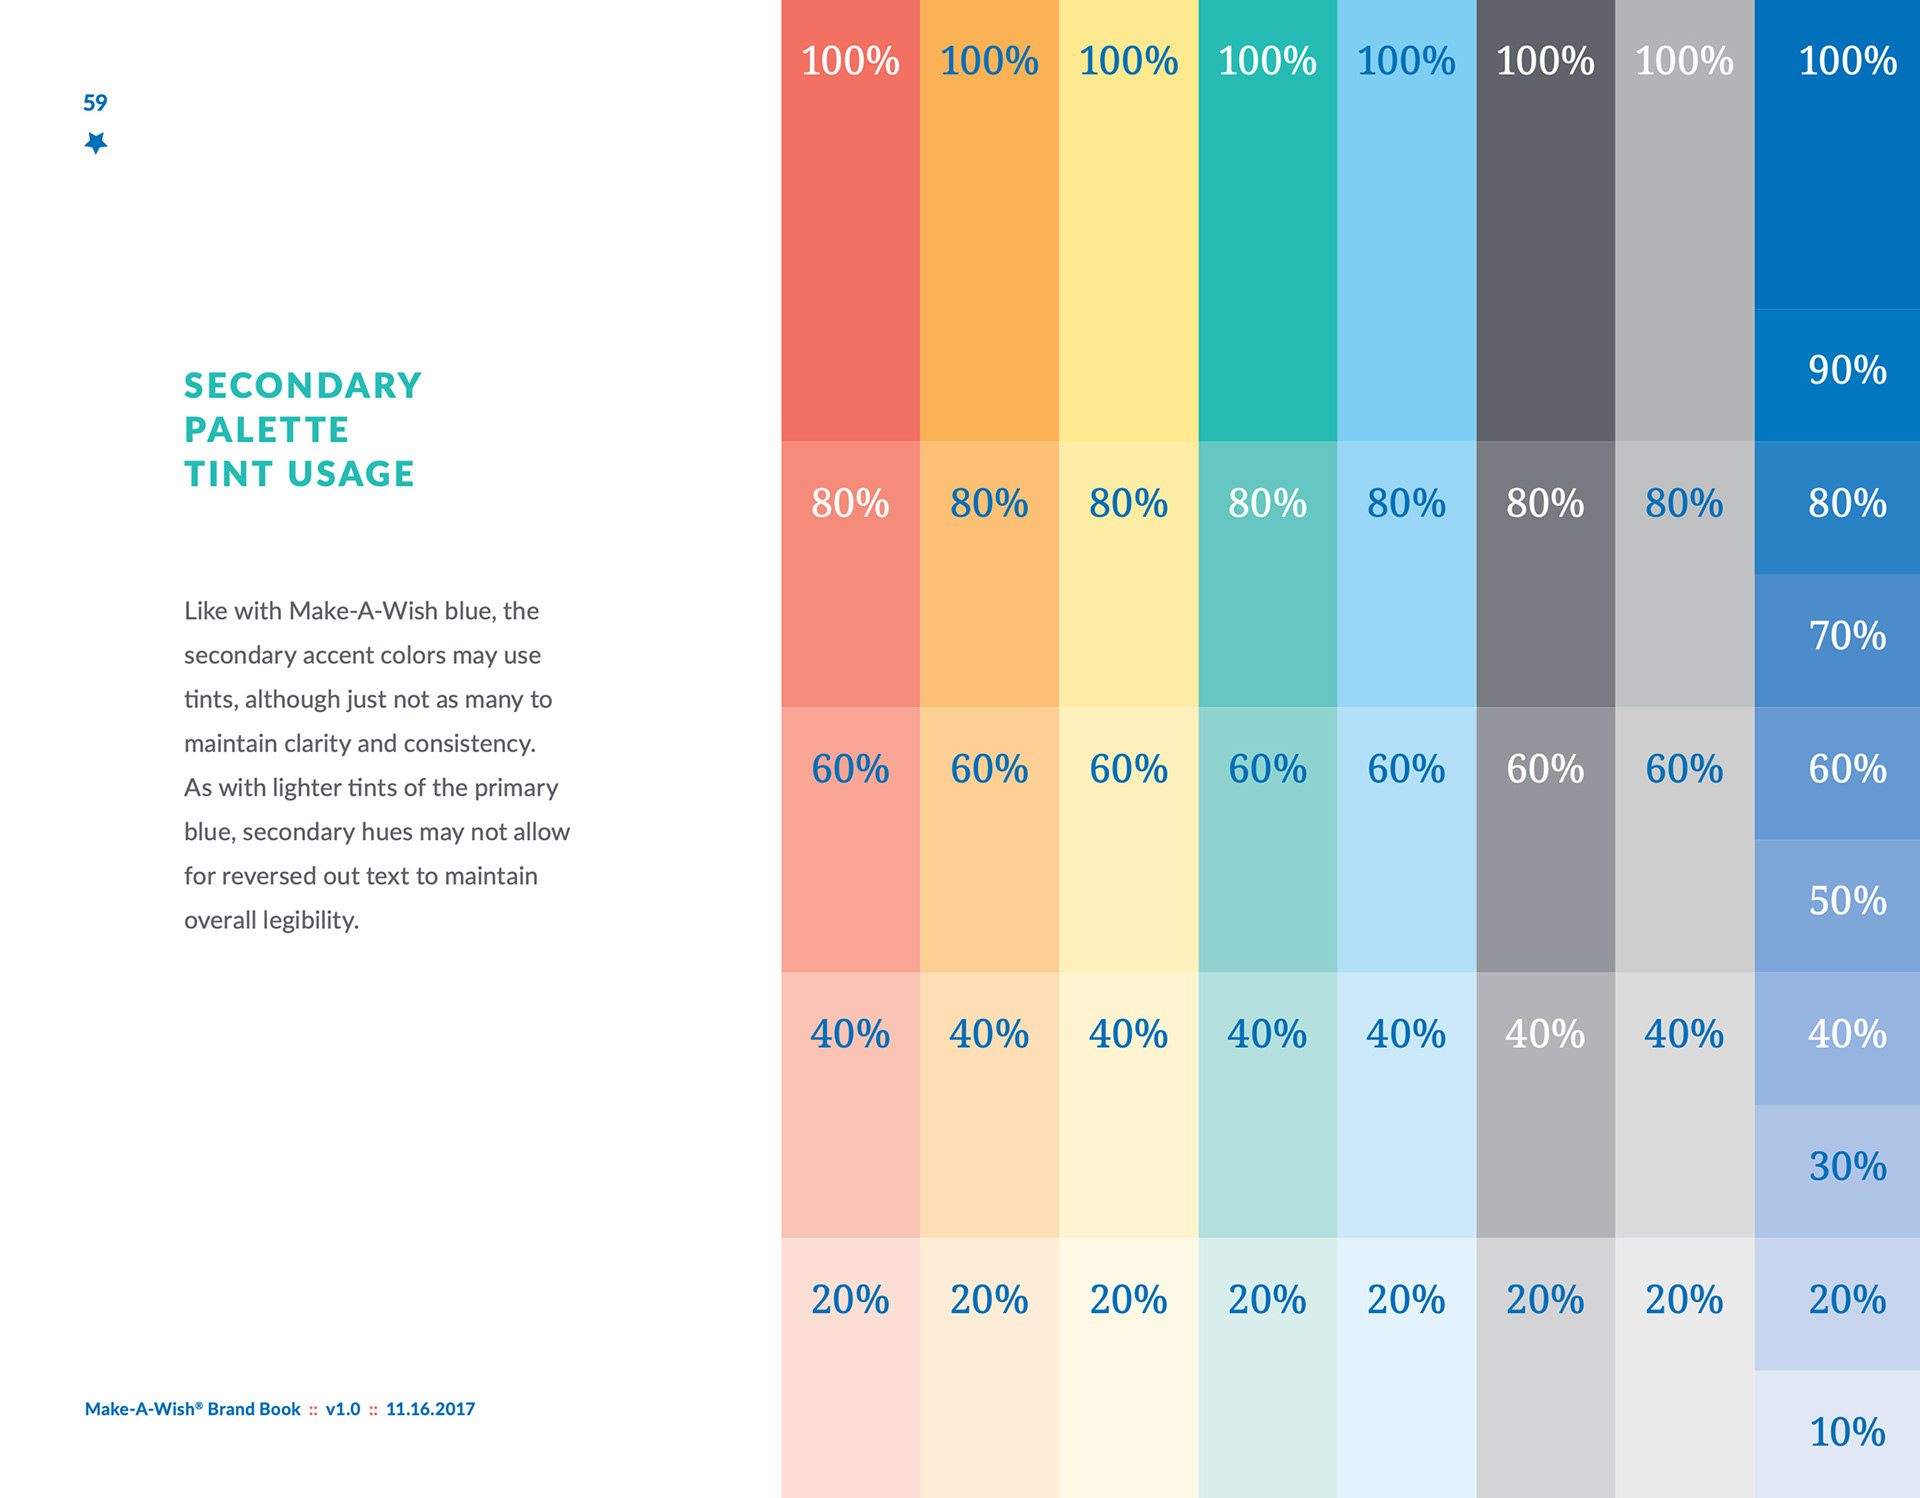
I colorized each section using one of MAW's eight primary and secondary colors, then limited the palette within each section to tints of 20%, 60%, and 100% to keep the overall color scheme from becoming overwhelming.
Outcome
The final "Wish Machine" illustration was approved with zero changes.
"Thank you for sticking with us through the whole process. You really created magic here."
~Jenny Dougherty, Associate Creative Director, One & All
My final task was breaking the illustration into individual elements that MAW's in-house designers could use to create marketing materials — a feat of file management that involved grouping hundreds of individual layers into sections for export.